Showing posts with label Handwork. Show all posts

Monday, July 26, 2021

Five Fun Additions to Our School Year

Hi there! It's hard to believe, but we have just a few short weeks left until we begin a fresh year of homeschooling. Before we do, I thought I would share a few fun highlights from last year! In no particular order...

Family Century Charts

Because we are all studying the same time period in history, we chose to do a large-scale collaborative century chart for Forms 1-4 this past year! This was in addition to the various other history tools my students were keeping, depending on age: timeline, Book of Centuries, small century charts, etc.


We used some large colored sheets we had on hand (different colors for each century), but I think posterboard would be perfect for this project! Another option would be to use a roll of butcher paper and do the centuries on one long sheet (which is what we will try this coming year, I think!).

I assigned entries weekly by Form. I had two students in Form 1, two in Form 2, and two in Form 4 last year. Each Form made an entry each week, switching between the older student in the Form and the younger student in the Form. So each week, three entries were made on the charts. My students were free to choose whatever they wanted to add from that week's reading -- usually history, but sometimes literature, composer study, picture study, biography, religion, etc. (Occasionally, my Form 1 kids did not have any new events or people to add since we spent several weeks on the same story at times. So it wasn't a hard-and-fast rule.) 

It was neat to see how the different ages chose to represent their selected people and subjects.

Art, Art, and More Art

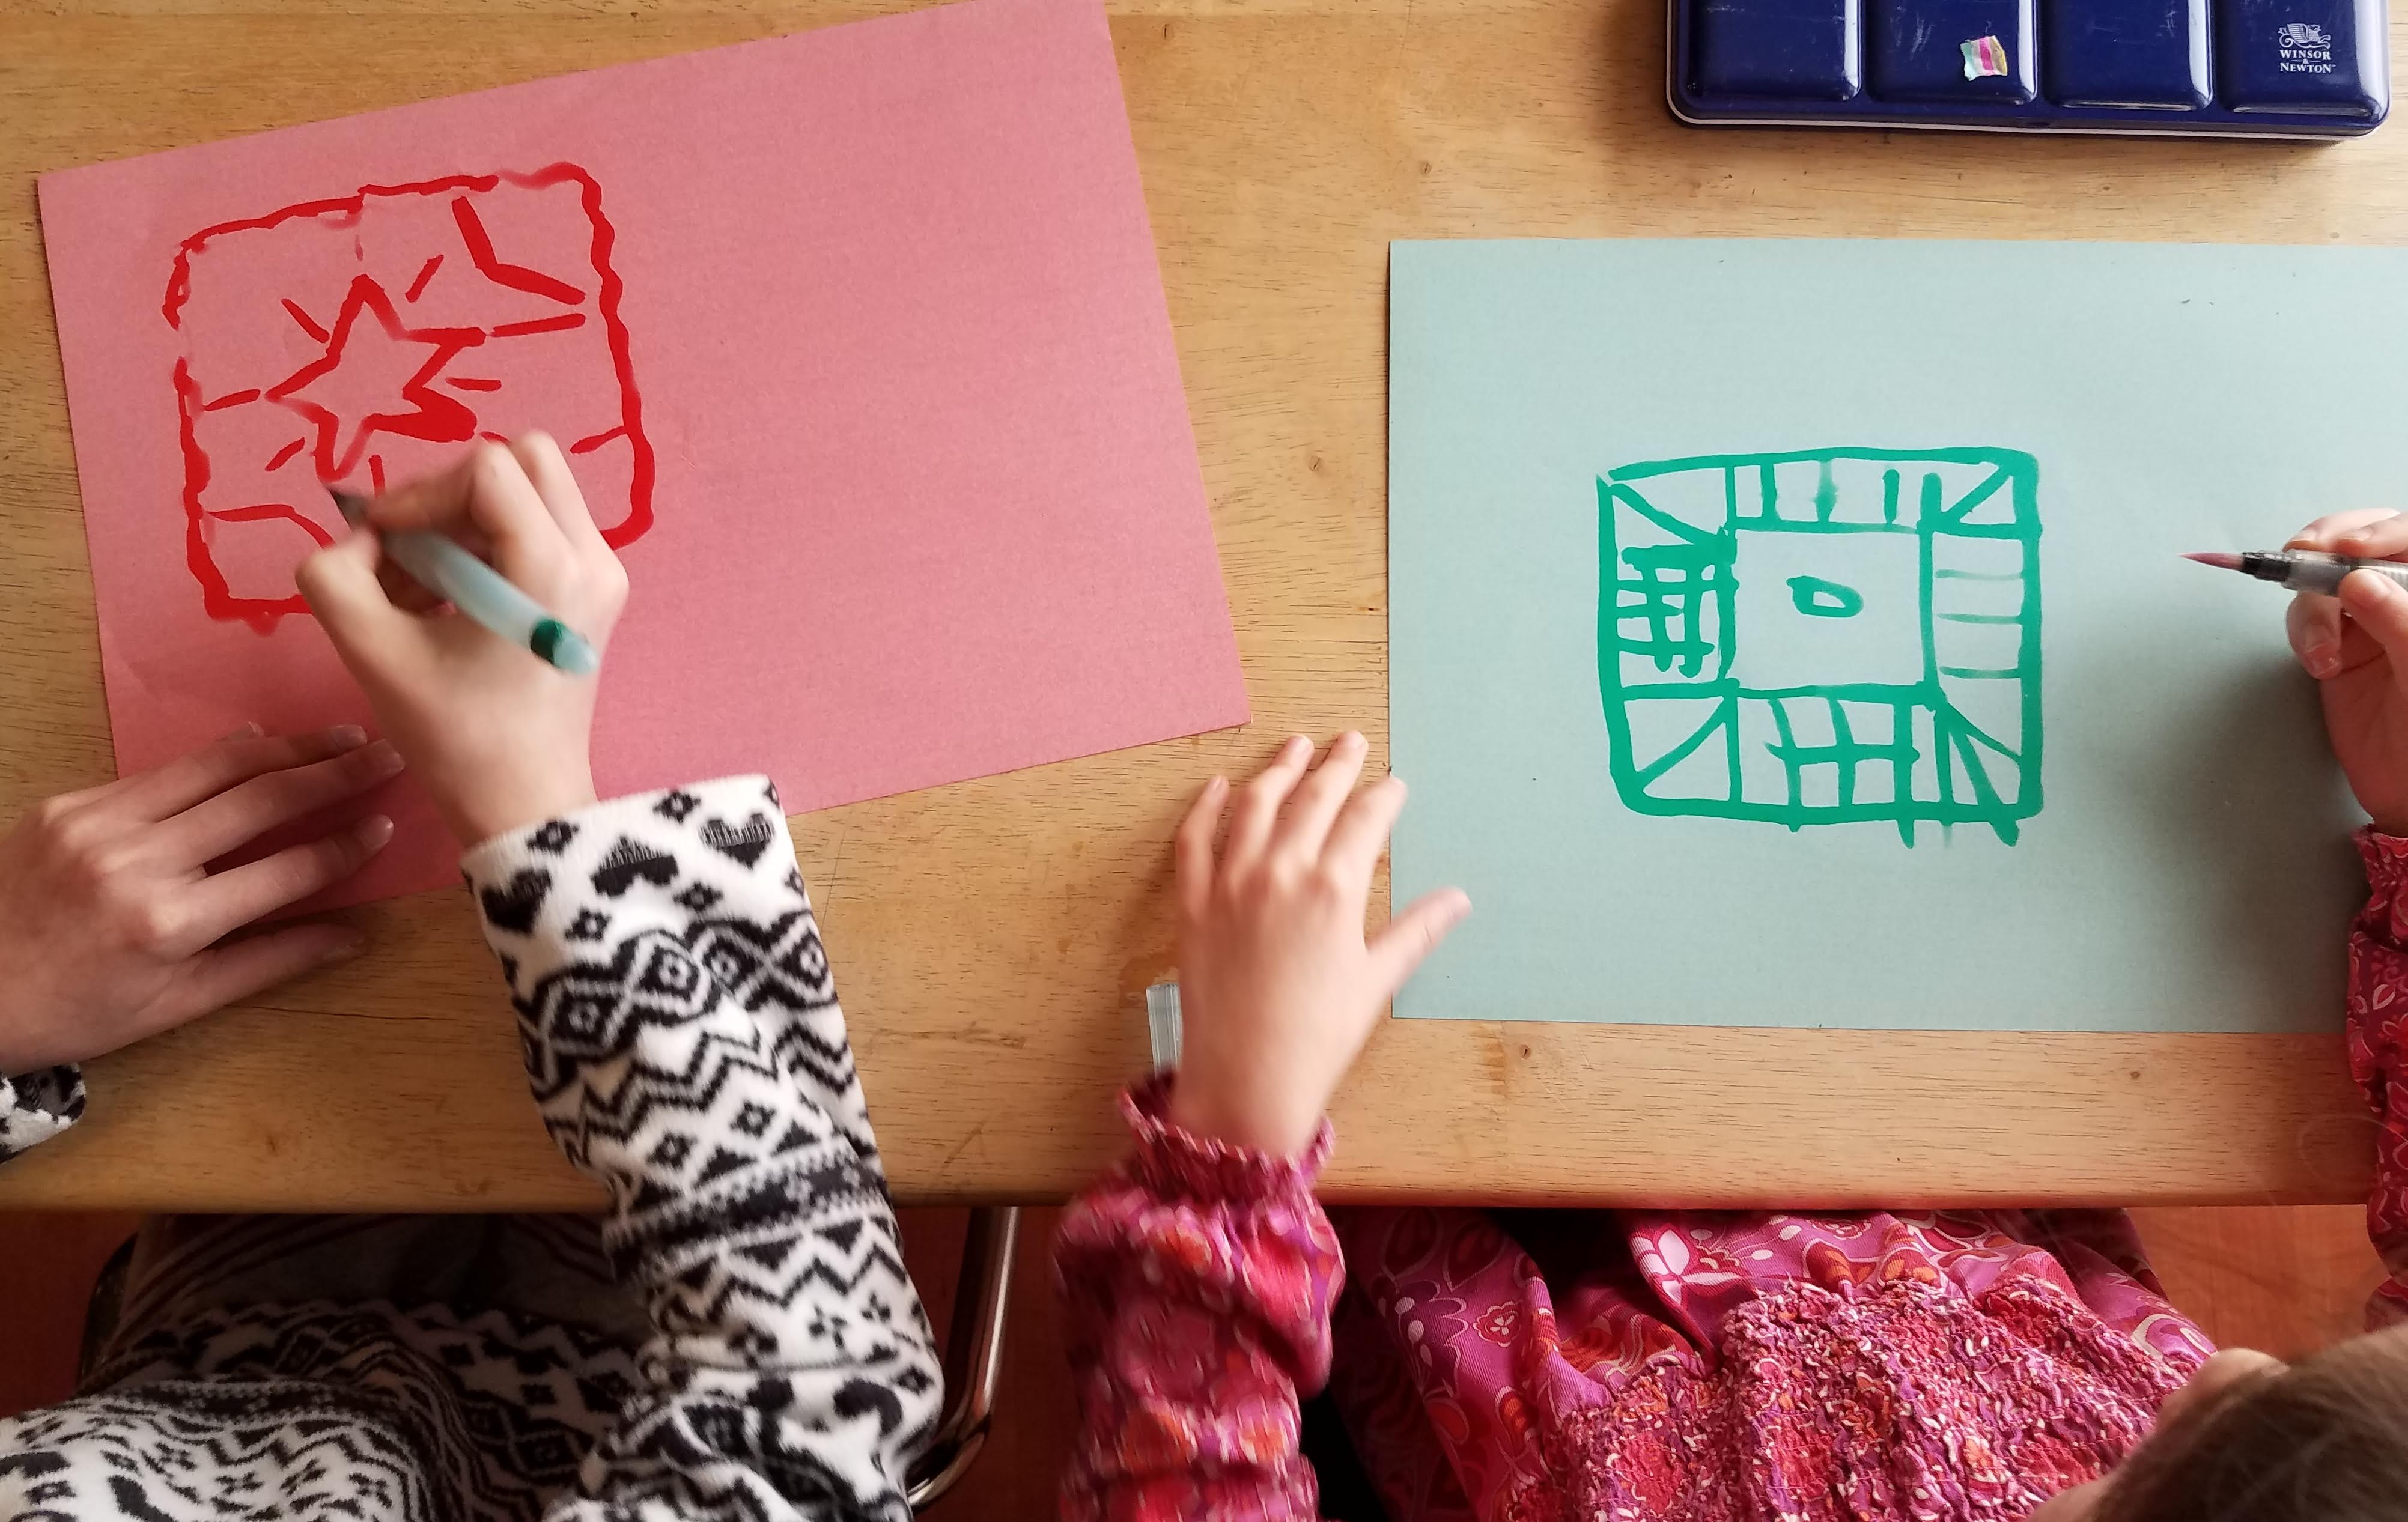
Thanks to the support of the CMEC, we had a blast in art this year! It was the focus of our Fall Mini-Retreat, so we took it up in earnest. We dove into chalk drawing, brush drawing, and clay modeling. We loved the variety and the calm, delightful process of working through these lessons week by week.


One of the best things about the PNEU's approach to art instruction is that the assignments are free enough that students of various ages can all work to their ability. This is so helpful in a large family -- or in a co-op setting, where we plan to do some art lessons this coming year. I can't wait for continued work in each medium!

Weekly Paintings

Speaking of art, this was our fourth year keeping small painted narrations weekly using Artist Trading Cards. (I have written about this more here: Our Weekly Paintings.) We had to start a new binder to house them all, and soon I will need to give each student his or her own binder because our collection is growing as the years pass and as I add more students!

A few pages from this year's studies...


These are a real joy to look through at the end of the year. Each student's particular interests and style shows through so clearly. And we get to see year-by-year growth in their artistic abilities as well!

The Kitchen Arts

My older girls (and my older sons too) have lots of practical experience in the kitchen and have been helping with family meals for years. But their repertoire has been mostly limited to our regular family rotation of breakfasts, lunches, dinners, and desserts.

My older girls have been especially motivated to learn some new skills and recipes as they have gotten older. It is so nice for them to gain not just experience, but also independence in the kitchen!

We decided to get them this cookbook for Christmas. I like America's Test Kitchen's approach, but more than that, I was looking for a comprehensive cookbook that included recipes for all the basics. So many cookbooks feature specialty ingredients and fussy methods on every page that make them challenging to scale up for a crowd (and with a family of 12, we always have a crowd!). This one has a nice balance of new and classic options. I previewed it from the library before grabbing a copy to gift them. (This one is out of print, but ATK has other basic options that have great reviews.)


Since then, they have been cooking quite a lot! They have handled all the birthday desserts so far this year and have added several delicious dinners to their rotation.


I also got each of them a set of recipe cards and a pretty recipe box. They have been adding recipes as they master them for easy access -- a different way of keeping an Enquire Within Notebook, if you have read The Living Page. Hoping this fun addition to handicrafts/life skills continues into the new year! 

And my second son requested his own recipe box this summer! I opted for a regular 4x6 index card box for a boy-friendly version. ;)

Handicrafts From the Stash

For handicrafts work, I have always aimed for (1) progress in skills we already have and (2) development of new skills or work in new media.

This year, we took up paper modeling and needle felting in Term 1 and paper modeling and raffia in Term 2 (CMEC video resources). 

For Term 3, I decided to have them work from our stash. So everyone had a chance to dig through their bins for...
:: kits and projects waiting to be completed
:: materials for new plans they wanted to try out
:: ongoing work they could take up week after week

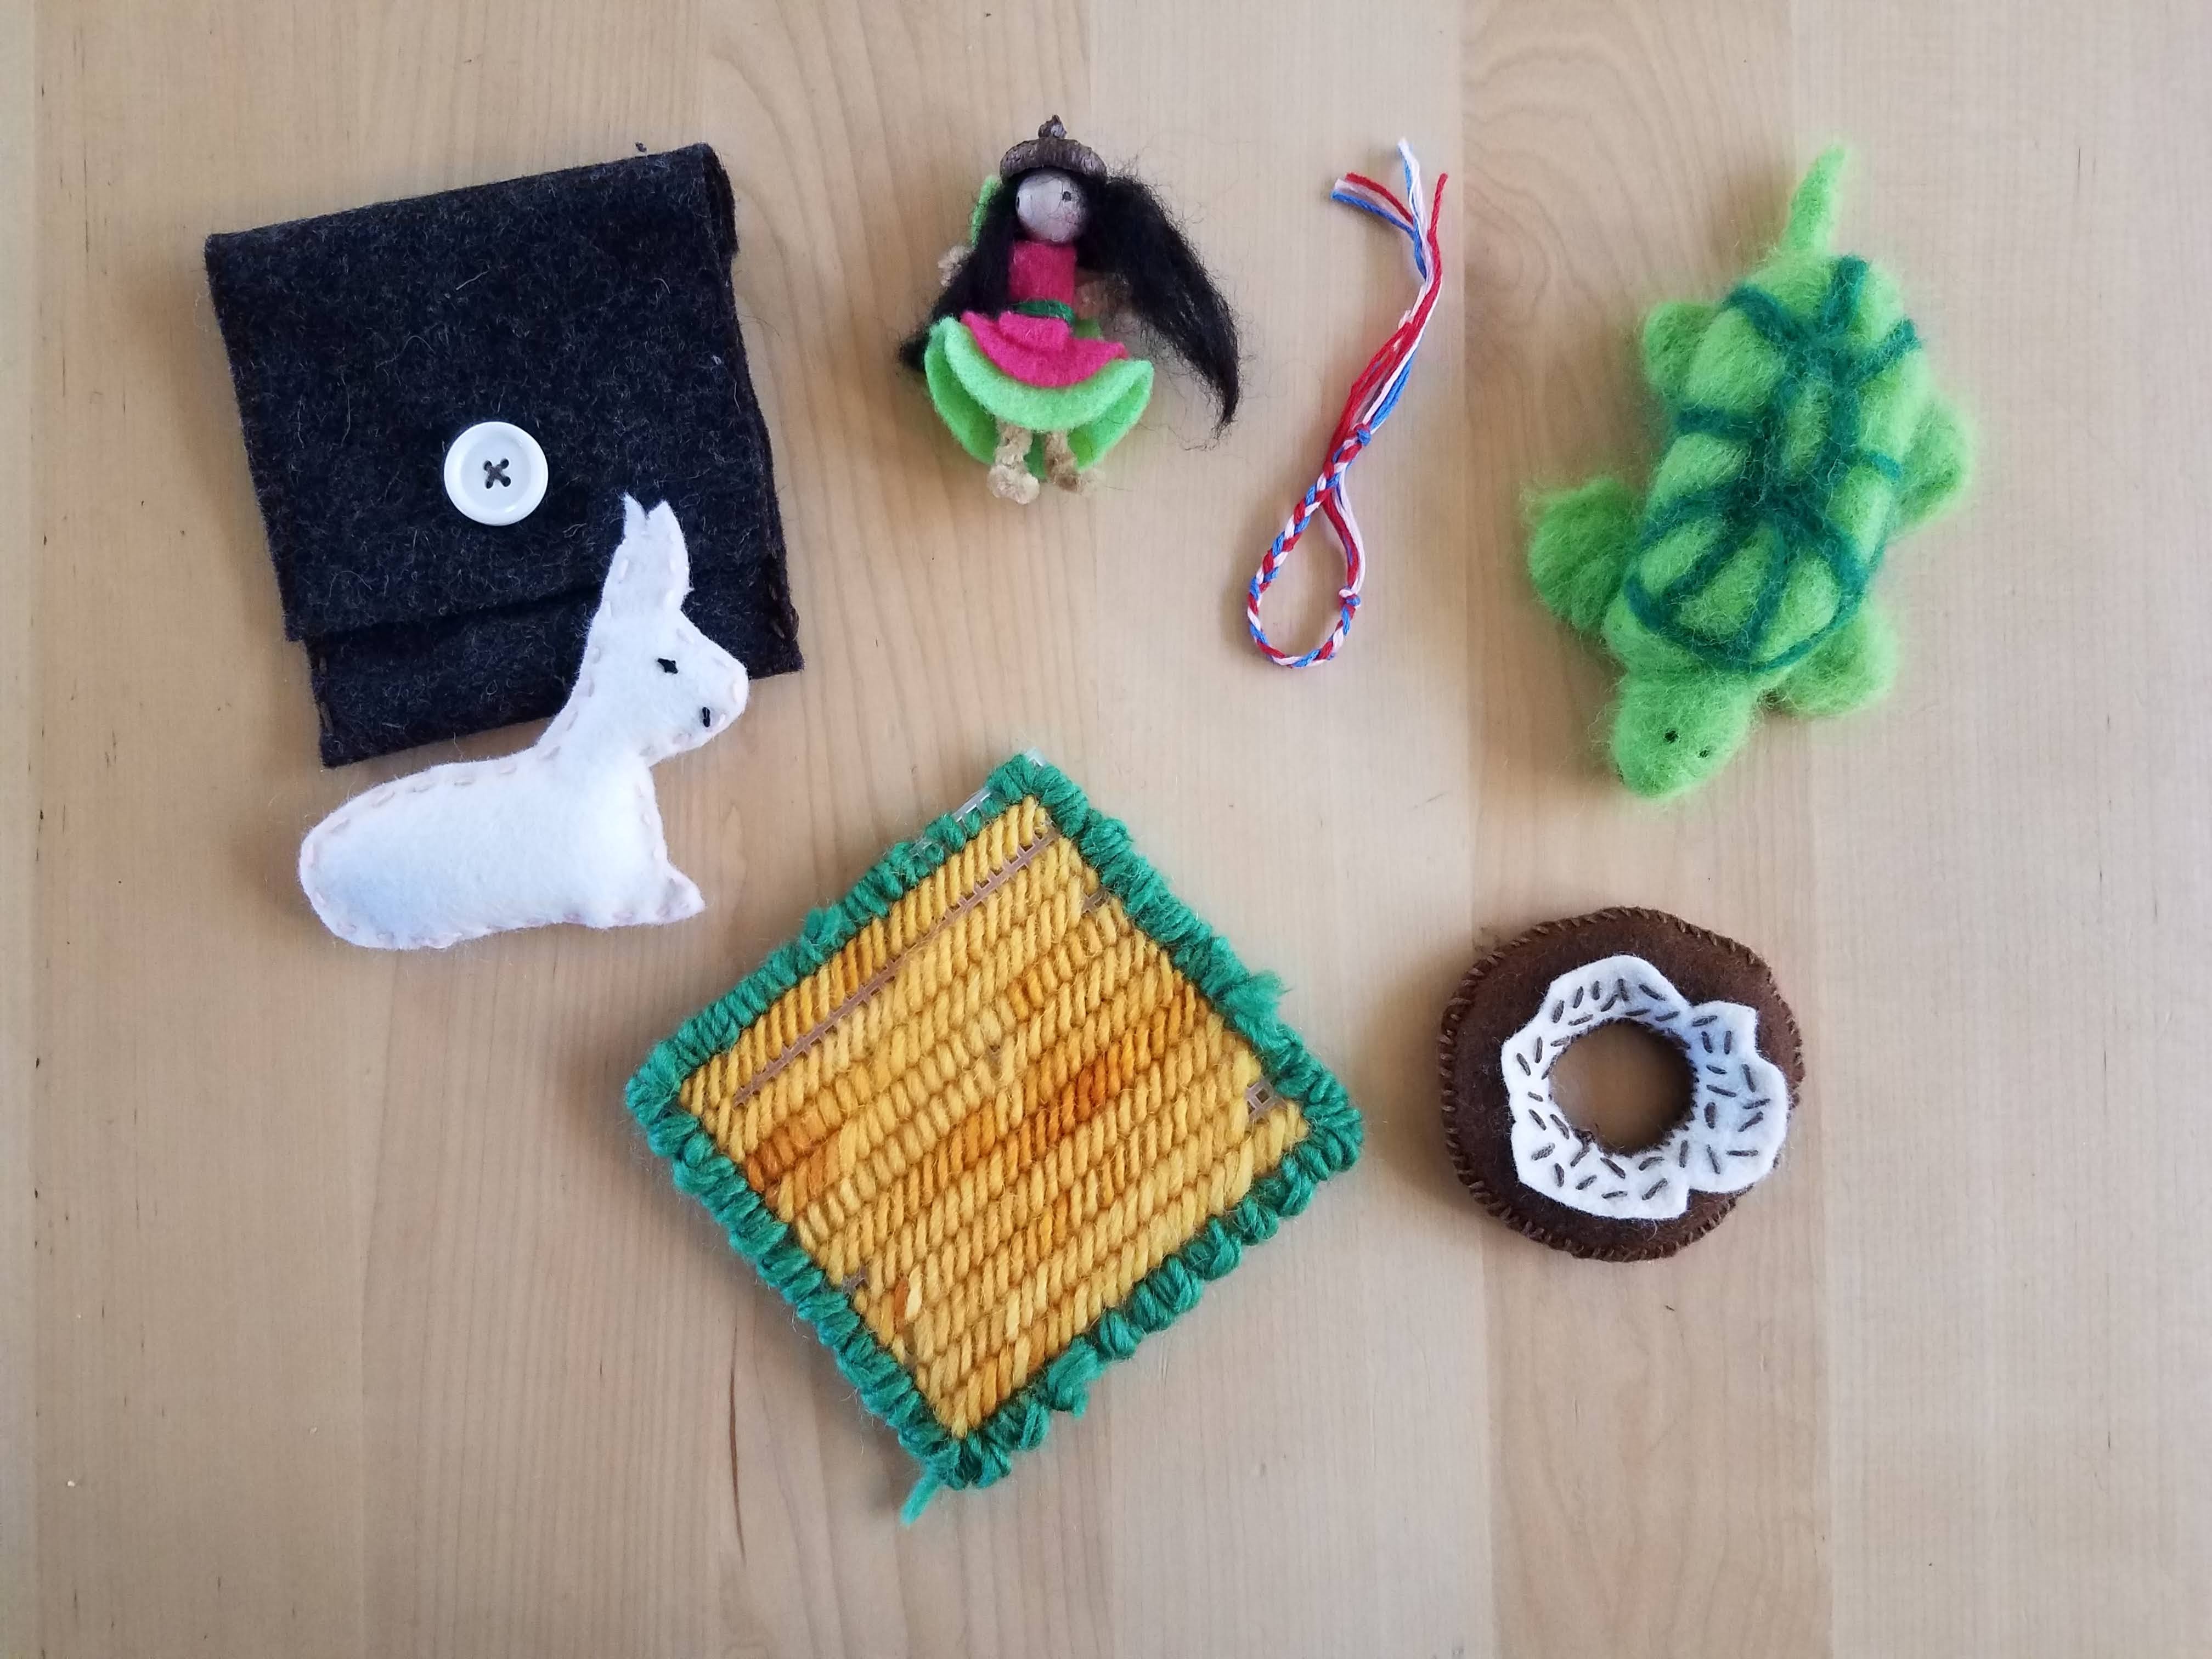
This led to lots of handicrafted gifts for winter and spring birthdays! For example, here is what my littlest, Emilia, received for her January birthday, all crafted by siblings. I love seeing how creative they can be when given the tools and the time.


And gifts from the middles for Mother's Day (left) and Father's Day (right):


So much worthwhile work in so many different crafts...


My kids are constantly doing some handicraft or another in their free time, but there was something about having a scheduled afternoon block for this work that really invigorated everyone, including my high schoolers. And everyone had the time during the block to organize and cull old supplies too, which was great for us all. I may make this a Term 3 practice every year! 

~~~

The real life in our homeschool comes from living materials and living methods -- these are my tried-and-true and make the biggest difference to "joy in living" in our home! But we always seem to have a couple experiments or unexpected additions that blow fresh air into our days.

As you look back at the past school year and plan for the next, what were some of the fun additions that brought joy to your homeschool?

Saturday, December 7, 2019

{Getting Started with Handicrafts} :: Book Binding

I almost called this series "Handicrafts for the Non-Crafty," but I decided that it's important that we as mothers redefine ourselves and be open to changing self-perception and self-description. I am not a particularly crafty person by nature, but that doesn't mean I can't become one by habit! Skills are learned, and it turns out that I like crafting much more now than I ever thought I would. So let's say "Getting Started with Handicrafts" with the idea that we are starting with few skills and little knowledge in the area but that we will learn and grow alongside our children.

You can read a bit about my personal handicrafting story here (scroll down a bit to the photos of me and my kids): Meet the Maker.

These posts are NOT written from the perspective of an expert -- neither in Mason's approach to the craft nor in the craft itself. They are written mom-to-mom, answering frequently asked questions I get about our personal experience with these activities, all of which our family has picked over the past few years and now practice regularly and joyfully.

For many years, handicrafts was my nemesis on the Mason timetable. I didn't feel like I could give it dedicated time with all the littles underfoot. I got creative and made it a priority and I'm so glad I did.

Here's my plan for the series so far:
Book Binding << we're here!
Knot Tying
Sewing with Felt
Needle Felting

Thanks for reading along!

~~~


I didn't originally have book binding in the line-up, but then I had an introduction to this craft at CM West :: Retreat at Puget Sound. I brought it home to my kids and it caught on like wildfire! So easy, so few supplies needed, and a super-useful result. My Form 1 daughters can do this with very little help, and Form 2 and up are now experts. And I have to admit: I am finding it super fun too.

(Fair warning: if your kids are friends with my kids, you are very likely getting some of these sweet notebooks in your home this Christmas. They have been binding up a storm in preparation! And I might also be gifting some of my own... :))


I can't take any credit at all for discovering these items or the way to do it. Emily Pastor gave me such a good start at CM West. So I'll direct you to some tutorials, share the supplies we are using and a few tips, and then let you have at it!

(And a related side note: if you are in the Northwest and interested in Charlotte Mason, check out the new account of CM Northwest! Charlotte Mason West has split into two groups to better support the regions we are dedicated to, so Amber and I are still planning Northern California events and then they have a team of ladies in both Oregon and Washington that are dreaming up day events, retreats, and more.)

On to the crafting...


What You Need

Once you have what you need for simple saddle-stitched book binding, you can easily make a ton of them. And even though you might not have everything you need already in your cabinet, the items are easy to find and inexpensive. Definitely worth investing in for the Charlotte Mason homeschool!

Basic supplies:
8.5 x 11 cardstock for the cover
regular printer paper for the inside pages
ruler and scissors
binder clips (medium or large size)
an awl (or a large nail can work fine too)
waxed thread or linen thread
a large-eye needle (often sold with the thread)
bone folder (also useful for sloyd!)
** This looks like a perfect starter set: it has the thread, needles, bone folder, and awl in one pack.

Optional supplies:
photo corners and small pieces of cardstock for labels (you can also use sticker labels or just leave blank)
a hammer (we actually use a kids' one from my boys' woodworking kits)
a piece of scarp wood or very thick cardboard for protecting your table when you hammer

these cardstock pads are from Dick Blick and so pretty!

A Quick How-To and Some Extra Tutorials


I have a simple write-up below, but here are a bunch of tutorials if you like visuals:
Design Sponge
Easy Bookbinding Two Ways
How to Bind Using a Saddle Stitch
And a video here -- we use the method that starts at about the 4-minute mark.

Those are all a bit different (and a little more complicated, I think) from how I learned, so here's the way Emily taught us at CM West:

1. Fold a piece of cardstock precisely in half. Crease well. That's your cover.

2. Fold five sheets of printer paper in half, one at a time. Nest them inside each other, lining up the edges as well as you can. Those are your inside sheets.

3. Place the folded inside sheets into the folded cover, lining up the crease and edges. You have assembled your book! Now it's time to stitch it together.

4. Unfold the book as-is so that the pieces are in the same order but flat again, then clamp the stack of papers together with a couple binder clips, one on each side. Make sure the edges meet on all four sides.

5. Using your ruler, mark the halfway point along the inner crease with a little dot. (That should be at 4.25'' if you are using regular-sized paper.)

6. Make a dot at each inch along the crease for two inches above the center dot and two inches below the center dot. You should have five dots along the crease now.

7. Punch holes with your awl at each of those dots. We line the crease up along a piece of scrap wood and tap the awl a few times with the hammer at each dot to get a good hole.

8. Cut 20'' of thread and thread your needle.

9. Sew your binding, as shown here. (This looks more complicated than it is!)

10. Once you have sewn up and down the crease, tie your ends and trim them.

11. Refold the notebook and admire your finished work!

12. Optional: to make a sweet little label, cut a rectangle of cardstock to the desired size, put sticky photo corners on each corner of the label, then carefully affix to the front of your book. This step can be a bit tricky but adds a nice touch.

A Few More Tips

Before punching the holes, I like to bend the notebook to make sure they are all lined up in the crease. If they aren't, your outside binding will look a little wonky.

Some needles have smaller eyes than others. Large eyes make theading the thick waxed thread easier, but then they can be tricky to push through the holes for little hands. You can play around with the size of the needles or just punch slightly larger holes for younger children.


We like to have various colors of thead so we can do contrast stitching or match up our paper and thread in different ways. Since the binding is visible from the outside, it's a fun way to jazz up the notebook.


All of our materials except the paper neatly stores in a plastic shoebox. It takes less than five minutes to make a notebook, so this is a simple one for kids to get out and put away on their own once they have had some practice.

These can easily be "dressed up" or "dressed down" depending on the recipient. You can make some very fun notebooks for younger kids or more classy notebooks fit for mamas.


You can change out the kind of paper inside to make something sturdier, lined, dot gridded, etc. Obviously a thicker paper will be a bit harder to fold and to punch and sew, so you might want to experiment before switching from printer paper with your kids. But once you get the hang of it, these can be very customizable.

It's nice to have a craft that is good to make and good to gift for boys and girls, kids and adults alike. And if you're looking for a crafty activity that will keep your kids busy all winter break, this one should do the trick!


And a warning: once your kids start making their own notebooks, they will likely want to start writing and drawing more too. So make sure to have plenty of free time on the calendar and get ready for an onslaught of notebook-keeping! ;)

(Links above may be affiliate links. Thanks for your support!)

Friday, October 4, 2019

Getting Started with Handicrafts :: Knitting for Younger Kids

I almost called this series "Handicrafts for the Non-Crafty," but I decided that it's important that we as mothers redefine ourselves and be open to changing self-perception and self-description. I am not a particularly crafty person by nature, but that doesn't mean I can't become one by habit! Skills are learned, and it turns out that I like crafting much more now than I ever thought I would. So let's say "Getting Started with Handicrafts" with the idea that we are starting with few skills and little knowledge in the area but that we will learn and grow alongside our children.

You can read a bit about my personal handicrafting story here (scroll down a bit to the photos of me and my kids): Meet the Maker.

These posts are NOT written from the perspective of an expert -- neither in Mason's approach to the craft nor in the craft itself. They are written mom-to-mom, answering frequently asked questions I get about our personal experience with these activities, all of which our family has picked over the past few years and now practice regularly and joyfully.

For many years, handicrafts was my nemesis on the Mason timetable. I didn't feel like I could give it dedicated time with all the littles underfoot. I got creative and made it a priority and I'm so glad I did.

Here's my plan for the series so far:
Knitting << we're here!
Knot Tying
Sewing with Felt
Needle Felting

Thanks for reading along!

~~~


This one is going to be short and sweet: just a couple tools to recommend, a few tips for using them, and some ideas for what to do with the results!

It's a bit funny for me to be talking about knitting, because although my grandmother taught me how to knit and purl when I was small, that's as far as my knitting knowledge stretches for now!. :)  But I did want to get my children started in fiber arts as a way to open up that avenue to them if it is something they want to pursue.

So here are three super easy ways to get a child started with the idea and practice of knitting without actually having any knitting knowledge yourself.

Three Tools.


Knitting tower. These are actually easy to make with a toilet paper tube and popsicle sticks, but those don't end up being very sturdy. We love the all-wood ones and they will definitely last for ages, even with tons of use. I have also seen it called a knitting tube or camden rose, and there are plastic options too.

Knitting fork. These are also called a lucet. Simple construction, easy to use. We have this one.

Circle loom. These can be found cheaply and widely. We haven't tried these yet, but I see them everywhere and they are basically just a very broad knitting tower. There are "long" or oval options too.


What Kind of Yarn?

You can use any kind of yarn with these, depending on what you would like your final product to look like. We have done chunkier wool yarns, thinner acrylic yarns, super thick variegated yarns... I do find that the ones that "hold together" a bit better (that are smoother, with their various strands sticking together) are easier for kids just starting out.

(You may want to pick your tool and your material based on what your kids would like to make. See below.)


Tips for Use.

If you need help "threading" the tool, check YouTube. Tons of how-to videos for each of these tools. Once you get the hang of it, though, it is very easy to start and end projects.

I find all three of these to be easier than finger knitting since the child can stop and start the project whenever he wants without worrying about tying off.

We began with my younger kids by threading the tool for them and then letting them knit. Once they caught the "bug," they were very motivated to learn how to thread it on their own and did so easily.


What To Do With Your the Results.

One follow-up question I often get is what we do with the resulting chains. Unlike "real" knitting, the results are less variable: you basically get chains, braids, and tubes. There aren't patterns to follow to adjust the product beyond those options. Which makes them easy but also limited in a way.

That said, I am always amazed at my kids' creativity. They have come up with tons of ways to use these! To name just a few...

With very chunky or heavy yarn, my kids have made jump ropes.

Knitted snakes.

Holster for a paper sword or handsewn dagger, as the case may be!


 Leashes for their stuffed animals.

Shoulder strap or handle for a felt purse.

Necklaces, bracelets, belts, and headbands.


And headbands work for boys too! ;)


Bow for a gift -- pair with some fabric for homemade wrapping.

Tie in a bow and attach to a barette.

And more. I would love to hear your ideas too -- we are always on the lookout!

Do you like chain, tube, or circle knitting? Any suggestions to share? Please leave a comment below.

(Next up, a related craft: knot tying!)